You know how it is when you learn a new word that you don’t think you’ve ever heard before, and then suddenly you hear it allllll the time? Well that’s me and rain gardens right now. I recently learned about them at a session on using native plants in urban settings at the annual MN Shade Tree Short Course. And now it seems like I hear about them everywhere! The new edition of our neighborhood newspaper arrived the other day, and there was a front page article about rain gardens and green roofs. I had a meeting at the Minnetonka Public Works building yesterday and I parked my car and looked up to see that I had parked right in front of a rain garden, complete with information sign (it looked suspiciously similar to your average drainage ditch, but I bet in a couple of months it will kabloom with native wildfowers and grasses).
So having decided that we simply must have a rain garden of our own, I embarked on some research. To my delight, there was a lot of really great info out there, leading me to  wonder how in the world a natural resources grad student such as myself could have made it this far without learning about this! The main benefit of a rain garden is that they filter stormwater runoff and reduce the amount of pollutants draining to lakes and streams, mitigating one of the main environmental problems in urban areas these days. But in addition to this, they help recharge groundwater, protect from flooding and drainage problems, provide habitat for birds, butterflies, and other beneficial insects, and they just plain look and smell pretty! Rain garden, will you marry me?
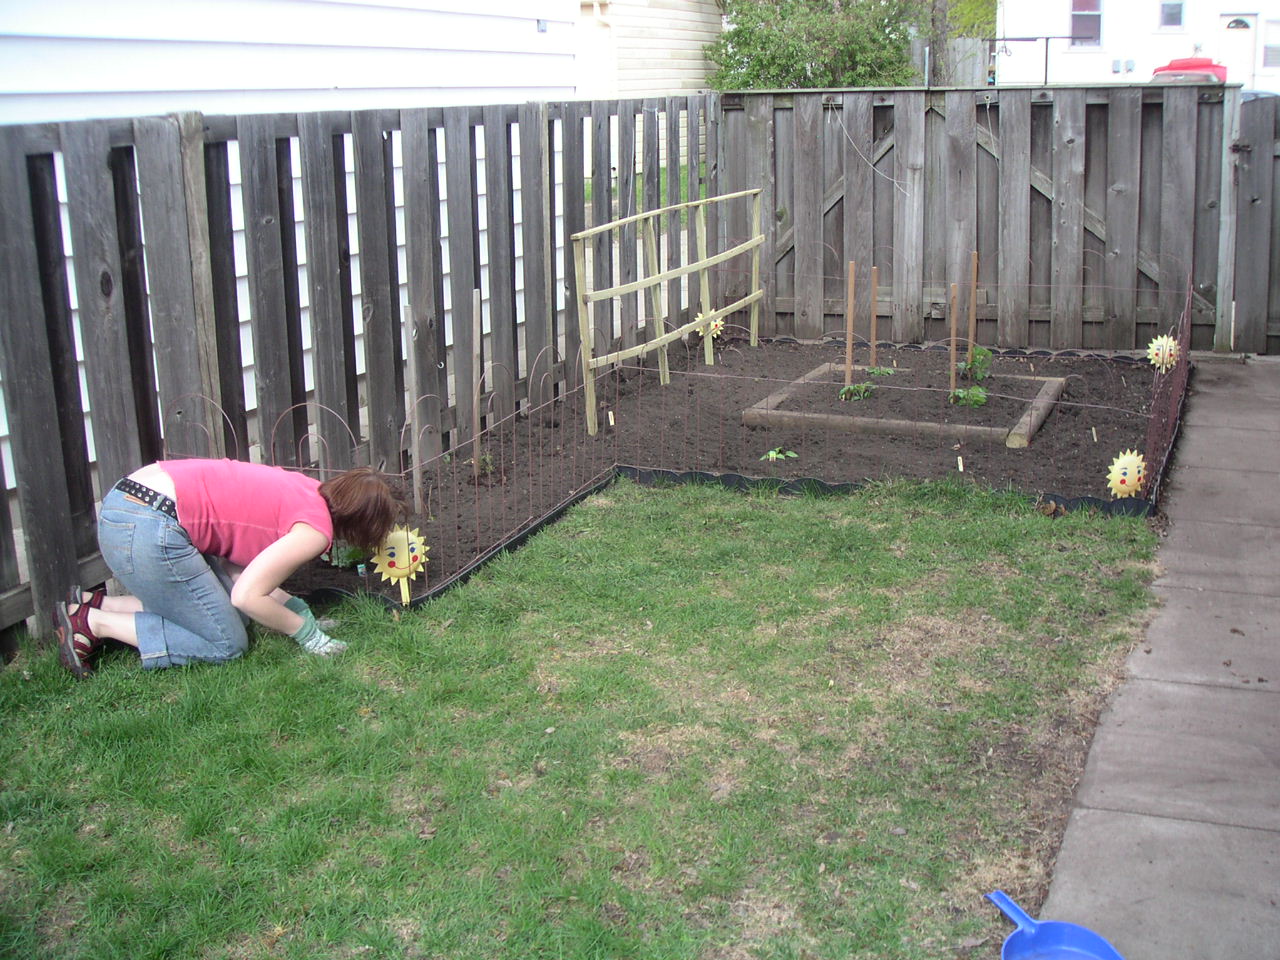
In Karen’s perfect world, our whole yard would be one giant rain garden, but for practical purposes I think we’ll start small. Regular Duo Team readers may recall that our back yard has had some drainage issues in the past. Granted, that was an extreme rain event. But even with regular storms, there’s pooling and general swamp-like conditions, resulting in Nate and I having to sort of hopscotch and curse our way from the back door to the garage in the morning. Improvements on the half-buried path from door to garage are high on my list of spring/summer goals as well, but if we could channel the water to a cutie little rain garden it could significantly improve our quality of life at the ole DT headquarters.
It turns out that there is this great Minneapolis Blooms program, which started holding FREE rain garden workshops last year. They held 18 workshops and expected about 300 people, and ended up having over 500 people attend and another 400 on a waiting list! This year they were able to offer 38 workshops. As soon as I read about it I went to sign up, only to find out that they have been full for some time. I’m bummed I don’t get to go to one this year, but how great is it that there is so much interest? They also apparently have rain garden interns who you can hire to come to your house for an on-site consultation for a mere $20! sweeeeet.
 I was able to find some other workshops on Lawncare for Water Quality, offered by Friends of the Mississippi, which include rain gardens in the topics they cover, but have yet to find out if they too are already full. Even if they are, I feel like I have enough resources right now to sit down and bust out a plan. For one thing, my officemate has offered his assistance. He works at Kestrel Design Group, a private consulting firm that does ecological restorations and landscape architecture (and the ones who designed the green roof on the Phillips Eco Center, a seriously amazing green building on a former city brownfield, home of the Green Institute, and incidentally, only a few blocks from our house), and has some experience with rain gardens. I also have an arsenal of how-to guides from the internets, like this one and this one.
The main challenge will be, as usual, time. And the thorn in my side that is my research project. That’s right, it’s STILL not done, though it is crawling at a snail’s pace ever closer to the finish line. Some day very soon, I just know it…
PS – Holy links Batman! Can you handle it? I just gave you a reason to not work for the rest of the day. You’re welcome.
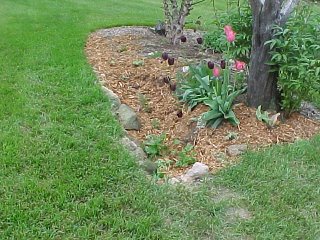
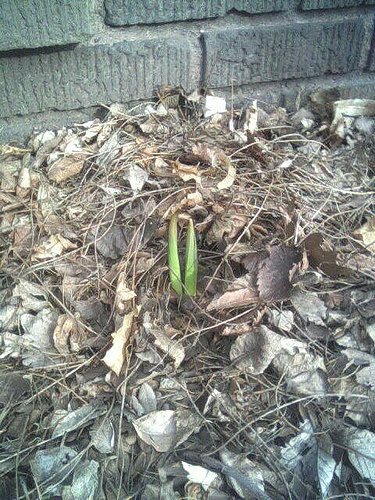
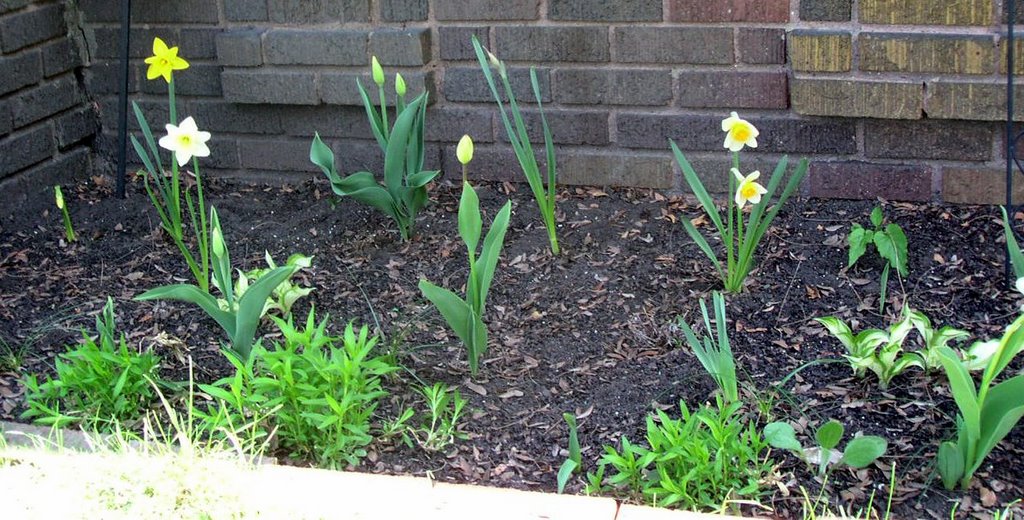 Ooh, daffodils! We did that! Pretty soon it’s going to be all tulips – the first one looked like it might just open today!
  Exoskeleton of a big ole bug. cooooool.
 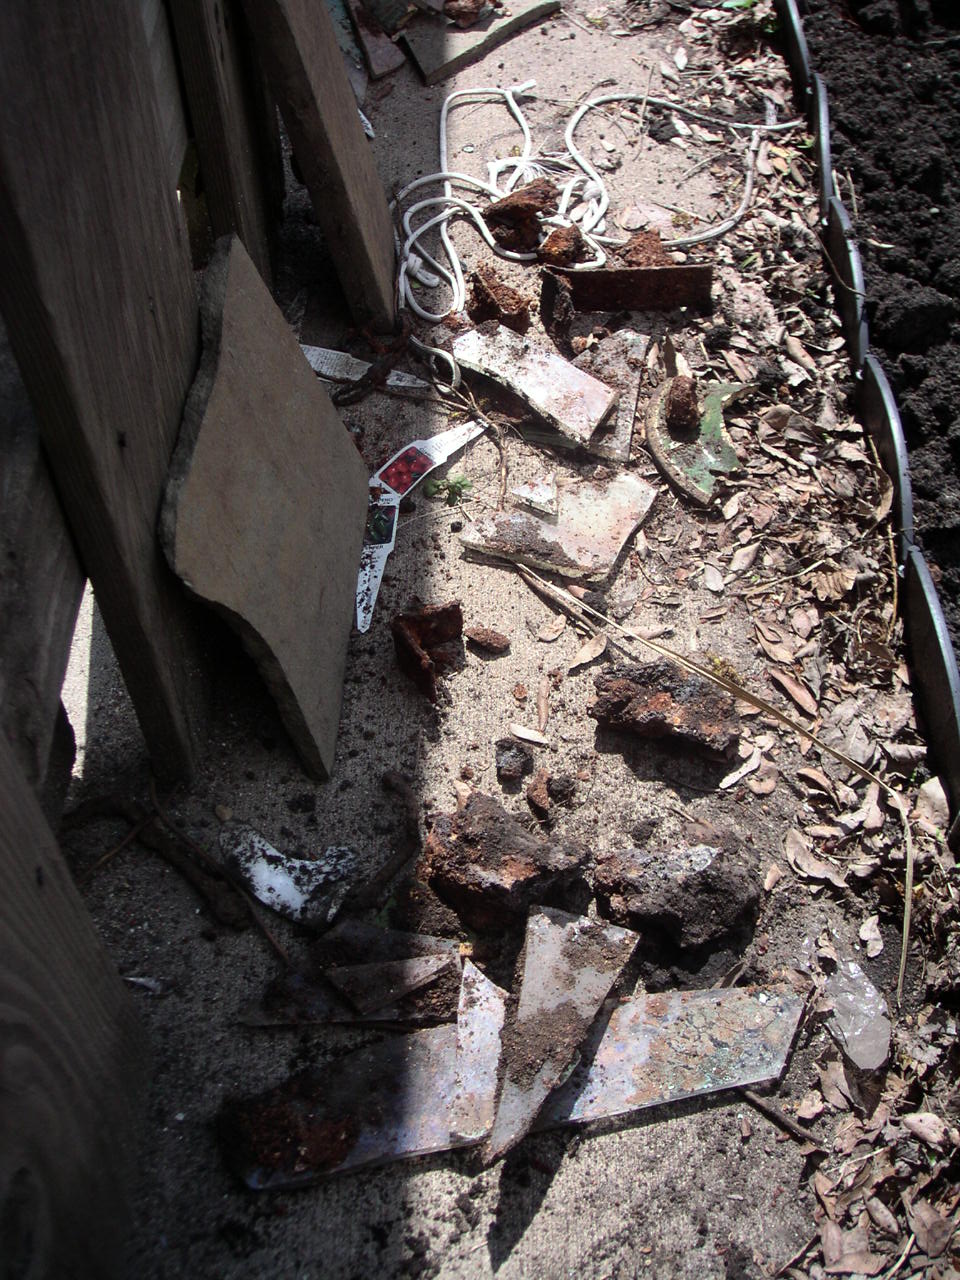 And this is a picture of the findings from our archaeological dig. When I was turning over the soil and mixing in compost in a corner of the garden I kept hitting really big, hard things. I started pulling random things out, but kept hitting more, so I kept trying to dig deeper. Finally I told Nate that I simply would not be able to move on if I didn’t know what was all down there, so he may as well come and help me. Which he did. It’s a really bad picture, but we mostly pulled out a bunch of huge rusty nails and wires, big pieces of painted glass, pieces of plates, some chunks of glass that looked as if they had been in a fire or struck by lightning or something, and a couple of what appear to be animal bones. Was it a pet cemetery? Probably not. Just someone’s garbage pit? Most likely. But perhaps they weren’t animal bones…


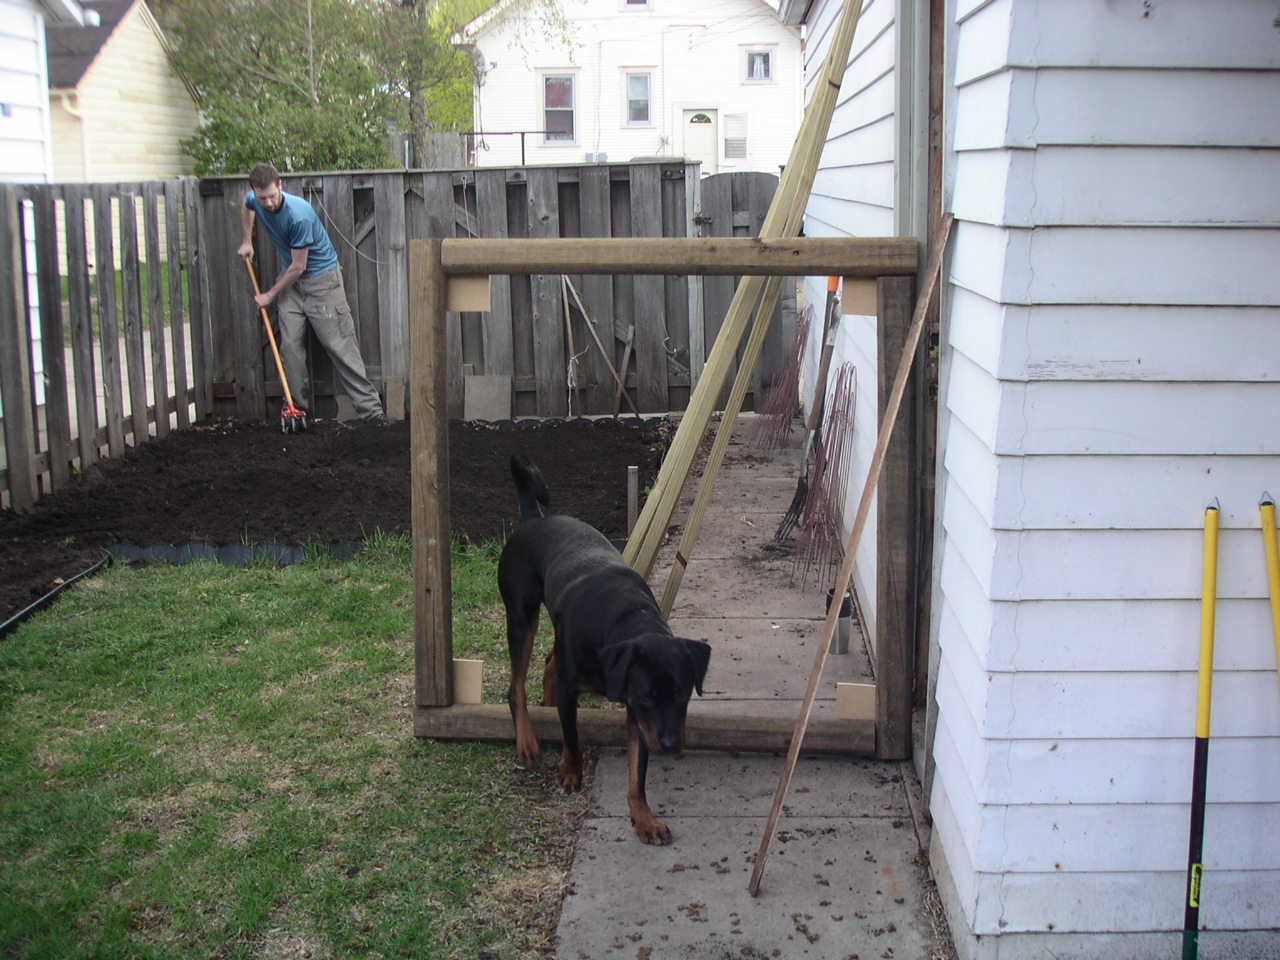


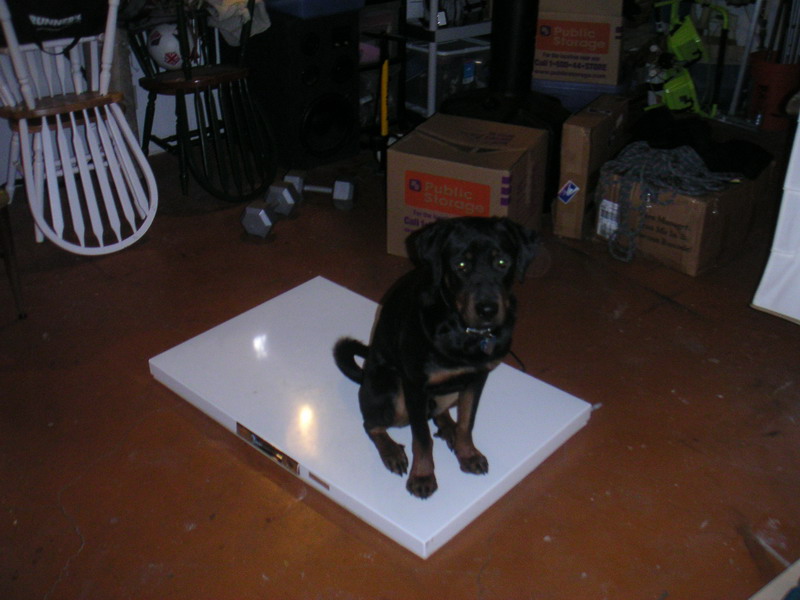
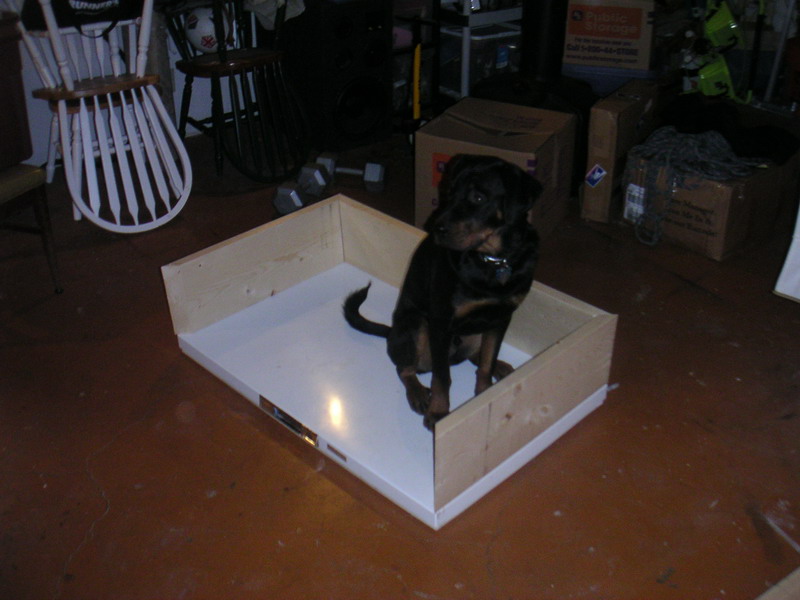
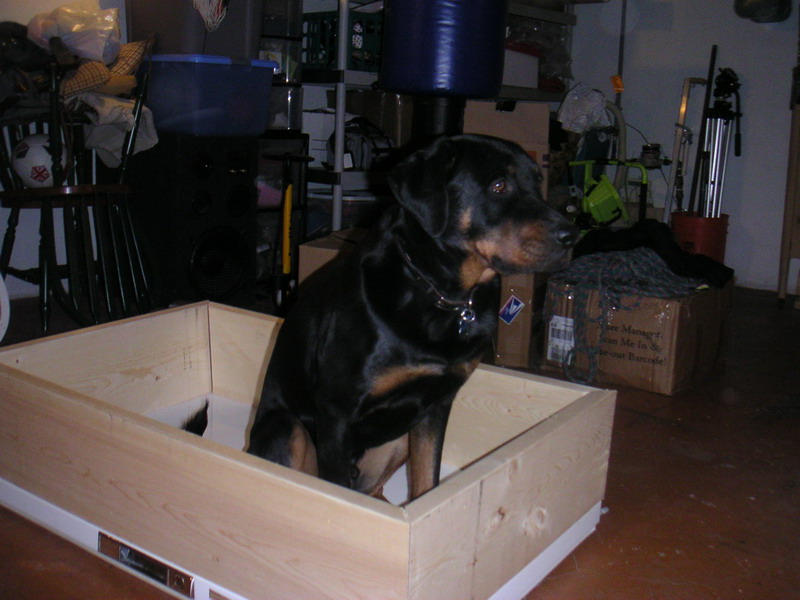
 Bruno helps us put together the new bed from Ikea.


Leave a Reply