Archive for August, 2005

Project: kitchen cabinets

Posted by Nate in Home Improvements.
Tuesday, August 30th, 2005 at 11:16 am


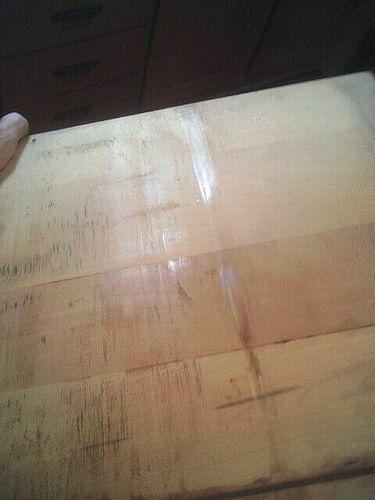
Another project I tackled the week Karen was gone was the kitchen cabinets. While not 100% done, good progress was made, and one cabinet is complete. It started out as you can see on the left – the interior paint was chipped, scratched, and battered, and there were only two shelves that spanned the cabinet. We ended up with a ton of dead space in there as we tried to fit plates, bowls, cups and more – there was just too much room over certain items but no good way to stack them. So I pulled the dishes and shelves out and started to sand the paint on the back wall. After about 10 seconds it occurred to me I had no idea how old this paint was or what it was made of – there could be lead in there! So I stopped sanding, researched lead poisoning and testing, and the next day bought a home lead test kit. I was nervous because a lot of kits have trouble testing red paint (it’s actually red, that picture doesn’t show it well), but this one included a test to make sure the paint didn’t "bleed" into the test. It didn’t, and the test showed no lead, so it was off to the races!

First thing I knew I wanted was several sub-shelves – portable units that would fit on the existing shelves to divide them vertically and horizontally. I also wanted a glasses rack for the top shelf, we had a bunch of wine glasses just standing in there asking to be knocked over and collecting dust. I ended up getting Medium Density Fiberboard (2′ x 4′) to make the shelves, and a nice piece of 1×3 white pine for the rack (short cuts and painted wood, so the white pine’s slow curves seemed ok). I’d never worked with MDF before – it was a good price compared to plywood, so I bought it – but it seems nice and worked well for the job. I’ll have to keep my eyes open for future projects.

I ended up buying a quart of Behr’s Pottery Red paint — we are maybe planning on using it to repaint the whole kitchen, so I thought a test batch in the cabinets would be good to see before we did all that work. So far it’s a bit pinker than the swatch looked, or maybe it’s just different in context..? I’m not sure. We’ll need to look at it more closely to decide.

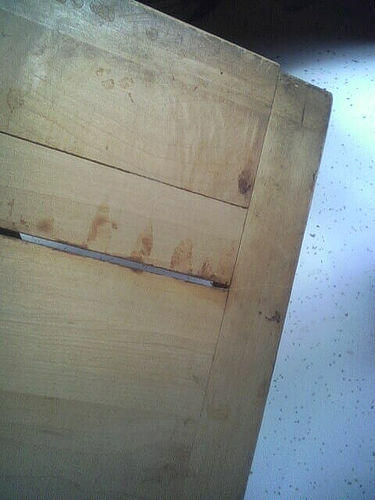
So after much measuring and cutting I was able to use almost every square inch of the MDF, biuld the shelves, paint them, and install them all before Karen got home! Well, most of them – this is the only cabinet that got painted, the rest still need it, but with the shelves installed it’s a great start. We now have some room to spare in the kitchen! (Temporary, I’m sure…)

MN State Fair

Posted by Nate in State Fair.
Monday, August 29th, 2005 at 12:34 pm


Mmm… Pickle on a stick…


Feels like home to me…

Posted by Nate in Homebrewing.
Friday, August 26th, 2005 at 10:55 am


Ahh… beer. This is a shot of batch sparging during my Wednesday brew session – the grains are in the cooler on the table, and the sweet wort is being siphoned into my 9 gallon brew kettle for the boil. That white-handled thing poking out is what’s being called a heatstick, basically a hot water tank element attached at an angle to some plumbing so it can stay submerged. (And yes, for safety it’s grounded and plugged into a GFCI socket – unfortunately in the bathroom. Probably put one in the kitchen to make my life easier – in fact they’re required there in new building codes (pdf).)

Anyway, the good news is my efficiency was at about 75%! This is a great step up for me, in our old place I was hitting only about 65% even using 5.2 pH stabilizer in the mash. I noticed our water here feels just a bit harder, whatever’s in there must be playing nice with the amylase enzymes to convert more starch to sugar!

Unfortunately, while I’m in love with the gas stove the single big burner doesn’t put out enough heat for anything more than a very weak boil… Remember, we’re trying to boil 6.5 gallons down to about 5, that take a lot of heat! And for proper hop utilization it needs to bea pretty vigorous boil… So I ended up boiling with the big burner almost on full plus the heatstick – the heatstick generates a really localized crazy boil, seems to keep things moving in the pot enough to spread the heat and avoid carmelization of the wort. Maybe next time I’ll try spanning two burners, but I’m afraid they’re too far apart for that.

The brewing went off without a hitch, and I have 5 gallons to delicious beer bubbling away in the basement – I’m planning to rack it over 5 pounds of blueberries I’ve been keeping in the freezer, hoping to make a yummy blueberry beer. Mmmmm. Blueberry beer…

Project: under-counter cutting board

Posted by Nate in Home Improvements.
Friday, August 26th, 2005 at 9:51 am


I’m betting this is how my project priority will break down: something will annoy me enough often enough that it will jump to the top of the list, even though there are smarter things I should be doing. That’s how it was with this cutting board, anyway.

We have a really (potentially) slick under-counter cutting board in our kitchen, a great space saver and really handy already. Two problems: it sticks and won’t come out when it’s recessed completely, and there was a growing gap between two of the boards that was filling up with food bits and grossness.

I pulled it out (problem three: it comes out all the way and could easily fall out when loaded) and looked at the bottom – there was a line of "polished" wood, obviously the part causing friction and sticking. I went to work with some sandpaper and sanded down the rail it was sliding on and also a bit of the board, and soon had it sliding much better in and out. I was unable to keep it from sticking during the last 1/4" of the track, so I added a screw into the backboard to keep it offset by that much. Works well. One problem down.

Problem two: the gap. My guess on the gap is that it was caused by repeated attempts to dislodge the previously stuck cutting board by pulling on a single knob in the middle. The glue on the forward two joints held but the third broke and thus was born the gap. I was partially proved right when I was able to enlarge the gap slightly with a carefully wedged knife – the board slid in a tongue and groove on the sides. I cleaned out the crusted food and gunk, sanded a bit, slapped some wood glue in there and clamped it up. Good to go.

Finally, I re-seated the board and moved the makeshift knob from the front to the back but on the cupboard interior, so it would act as a stop when pulling the board foward. Problem three solved.

Still a bit of hesitancy in the motion of the board, might attack it once more with a sander, but on the whole my annoyance has been resolved! Now on to the 99 other things I put off by working on this one…

Happy Birthday Karen!

Posted by Nate in Holidays/Birthdays/Etc.
Wednesday, August 24th, 2005 at 11:44 pm


Just wanted to give a late-night shout out to Karen while it’s still her birthday! Here’s hoping she had a great day up in the Boundary Waters and that everything is going well for them. Yay! Meanwhile, back at the house, the projects have begun in earnest — and the problems as well. Look for some posts tomorrow on what’s being done, what’s almost being done, and what I want to get done before Karen gets back on Saturday. Trouble, my friends, trouble…

Retroactive blogging

Posted by Nate in The '05 Move, The Blog.
Friday, August 19th, 2005 at 10:02 am


I went back and added text to go with the photos of our move, just to give a little context. And now I’m writing about writing, boring, but I thought I’d throw a new post out to draw attention to the previous ones beingupdated. Done. Karen keeps promising to blog – "real soon". I dare you to hold your breath. (Actually, don’t. She’s out of town for a wedding tonight, driving back tomorrow, then leaving Sunday for a week long trip in the Boundary Waters, so… definitely don’t hold your breath.)

Almost there…

Posted by Nate in The '05 Move.
Saturday, August 13th, 2005 at 5:55 pm


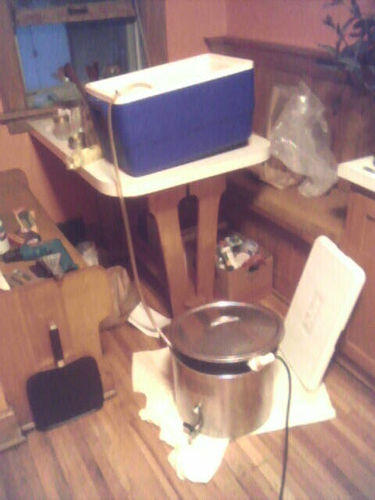
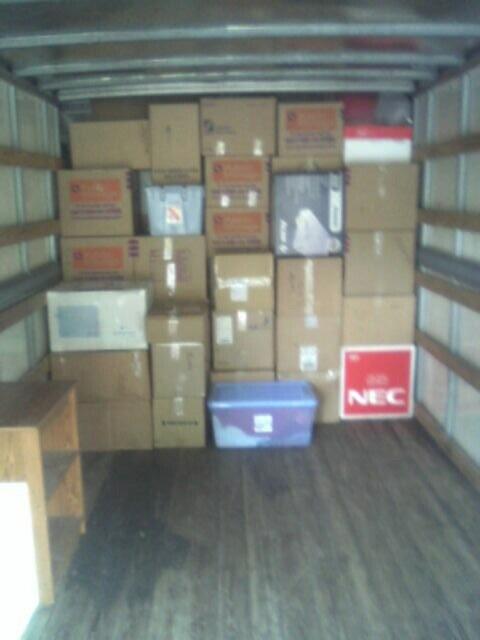
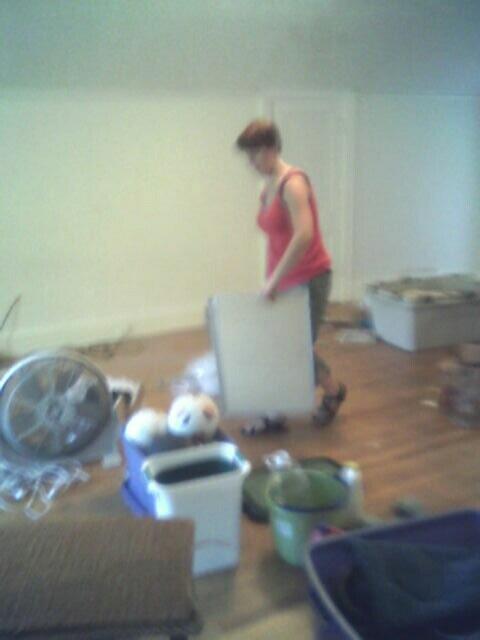
Final stages of packing. The dregs. Trying to leave just enough to clean with in the morning… By this time we’ve been going for almost 12 hours, and by the time we stopped working it had been about 16 hours of moving, and then 4 hours of cleaning the next day. Suuuucks. I tried to anticipate it – I knew we had more stuff to move, and had a bigger place to clean, but somehow I still underestimated the time.

What made it take so long? Well, all our "friends" had "weddings" to go to or some such nonsense, and couldn’t help. Ok, I take it back: the two friends that came over at 9 and helped until 4 were truly lifesavers. We’re still brainstorming how to pay them back, there’s no way we could have made it without them… Any ideas? Name the breakfast nook after them?


Ta da!

Posted by Nate in The '05 Move.
Saturday, August 13th, 2005 at 2:24 pm


Widely acknowledged (by Karen at least) to be my finest packing job yet. I agree. The bad news: our worldly belongings do not fit into a 15 foot truck. (I actually requested a 16 foot truck, but ended up with a 15 footer with a stupid lift instead of a ramp. Dumb Budget.) I can’t remember what we moved from St. Paul with, but I think it was a 16′ and we had some room to spare. Maybe we still would have fit in a 16′ this time, there really wasn’t much left over and it might be taller…? Anyway, the only way to test that theory is to rent a 16′ truck and try packing all our stuff into it, and I sure as hell am not going to do that for at least a few years. Keep watching the blog, I’ll let you know in 2008. :) On the other hand, damn have we acquired a lot of stuff.


How to pack a truck for moving

Posted by Nate in The '05 Move.
Saturday, August 13th, 2005 at 10:13 am


Step 1: work at an events company for a year until you feel superior enough to write a post called "How to pack a truck for moving".

Step 2: start with the big boxes, or really anything roughly rectangular. From the front back, fill the truck in rows all the way up to the top. It’s worth it to fiddle with pieces to get as tight a fit as you can. If at all possibly, try to finish with a solid wall.

Step 3: (maybe optional) Once the boxes are in, I like to finish off the rows with mattresses and box springs. Some people use sofas – whatever works: the goal here is to span the width of the truck as high as you can, effectively forming a barrier to keep any shifting boxes out of harm’s way. You’ll need to tie the mattress in place: I use a bowline to secure one end of the rope to the side of the truck, and then a trucker’s hitch to crank it down nice and tight on the other. The animations are a bit confusing but I think it’s worth it to learn – those are the two most useful knots I know.

Step 4: Fill in the rest of the truck with the odd-shaped pieces, chairs, desks, etc. Take apart everything you can, to leave the least amount of wasted space. Take your time to get it tight – nest those chairs, try different angles for lamps, etc.

Step 5: Tie it all down! Even if it’s a "quick" trip across town, all it takes is too-sharp turn or some crazy railroad tracks and your furniture is kindling. I guess that’s it. Really, there are ten thousand good ways to pack a truck, but this works for me. It’s sort of cathartic, in the middle of a terrible move day, to find a perfect way to make a crazy piece fit rather than just throwing it all it randomly…


Salud!

Posted by Nate in Homeowners, The '05 Move.
Friday, August 12th, 2005 at 4:31 pm


Flor de Caña toast to our new house!

update: This is the day we got possession of the house – somehow I had the foresight to leave a bottle of Flor de Caña handy… I predict this is the last time until we move that you’ll be able to see that much clean floor. :)