Disgorging the sparkling mead
Posted by Nate in Homebrewing, Wedding.
Friday, August 10th, 2007 at 11:28 am
When I last checked in, the mead had been moved to the basement for riddling, the long and slow process of turning and bumping that’s supposed to collect the remaining yeast and sediment in the neck of the bottle. It went pretty well, but I would change a few things next time – more vigorous turning early on, while things were still at an angle, or possible skip the entire angle thing and go right for vertical. I ended up having a few bottles with some small but incredibly stubborn yeast deposits on the neck that just wouldn’t budge. Ah well.
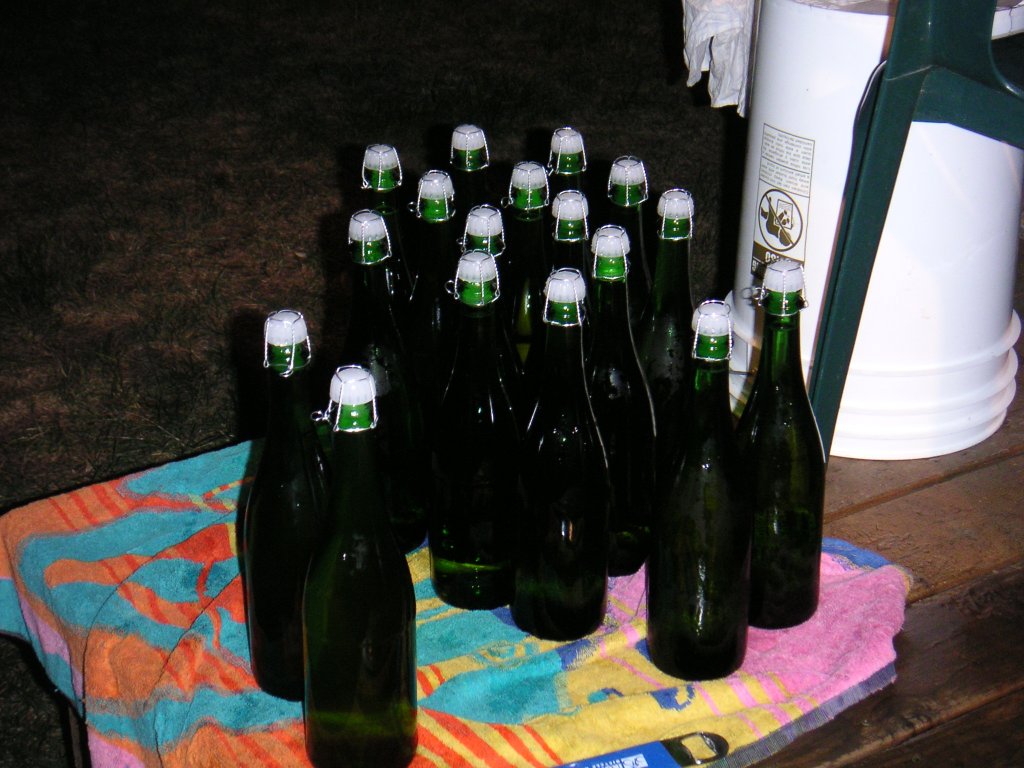
 So yesterday morning I cleared a space in the fridge for the mead, and I transferred it into the freezer when I got home from work. As you can see, it was a tight fit… The goal was to freeze just the end of the neck, but chill the rest of the mead so it would keep more CO2 in solution when it was disgorged. As it happened, the 5 bottles outside of the box got so cold there were chunks of ice throughout, which ended up being a problem later…
 This is everything you need for disgorging, almost. At left is a cooler with 15 pounds of ice (I meant to do 20, but found a bag inside when we finished) and about 2 pounds of sidewalk ice melter (KCl). In reading now, I realize I might have been better with plain rock salt (NaCl), which can make a colder brine, but I’d also read yesterday that CaCl could go colder still and without checking I assumed KCl might be the same. In any case – if you’re disgorging, do some more research. This worked for me.
Next is a bucket of sanitizer holding the plastic champagne corks, and a measuring cup half full of a dry white wine to replace any liquid lost in the process. The shiny things are the "cages" to hold the corks in place, there’s a test bottle full of water, some S-hooks we used to spin the cage wire tight, and a mallet to knock the caps in place. Whew!
 Here’s Karen fiddling with a cage on a freshly disgorged bottle. The basic process we ended up with was me working the disgorging and her handling the topping up, capping, and caging. I’d take an upside down bottle, dunk it in a bucket of water to get the ice and salt off, and then hold it about horizontal with my right hand on the neck, braced against my right thigh.
  With my left hand I’d pry off the crown cap, and in a dramatic "splurt!" the frozen ice plug would shoot out as I quickly raised the bottle vertical and slid my right thumb over the opening to minimize foaming. I’d set it down and wait maybe 15 seconds before releasing, then Karen would top it up and go from there. Normally we’d add some sugar syrup here too to cut the dryness, but two things: it’s really good how it is, and since I know we’re not getting all the yeast I didn’t want to risk another round of fermentation in the bottle… At right: the ground was littered with crown caps and yeast residue by the time we were finished.
So, yeah, the first few bottles were too cold – I’d read horror stories online about people not being able to get the necks to freeze in the brine, so I went right in the freezer. When I’d pop the top, not much would happen… The ice plug was too deep in the neck, so I’d have to try to dig around and fish out the yeast, resulting in foam and some volume loss, often to watch in despair as the yeast gently floated back down into the mead. Ahhh! Too late now, so we just capped it and carried on. The ones from the case were good and cold, but not frozen at all. About 10 minutes in the brine and ice got me a decent 1"+ ice plug and the new horizontal disgorging technique resulted in near-perfect yeast plug cannons. Awesome.
 At left is most of the bounty! There are really only 3 bottles that have a level of sediment and haze I’m not happy with, the rest are almost crystal clear… And I imagine no one but me will notice the haze. (but if I have my way we’ll hold those bottles back and only use them if we have to). Ta da! Now we let the mead rest upright until it’s time to serve it – oh, about 4 weeks and a day from now!
Similar Posts:
- Riddling the mead! ( June, 2007)
- New Blog! ( March, 2007)
- Back to Biking ( April, 2007)
- Countdown ( December, 2007)
- Going abroad, Mead, and Marathons ( October, 2006)

August 10th, 2007 at 1:51 pm
Yip, Yip, Yipperooney! Wow, that looks like some kind of project and learning experience! But I just know the end product will be worth all of the (your!) effort. Yum, Yum, Yum. Well, it really is like they say, at least 1/2 the fun is in the planning and preparation. And although I know this was work, I bet it was fun too. I would be willing to bet that this will be an original – can you think of anyone else who might have had home made, hand riddled, carefully disgorged sparkling mead for their wedding?! You guys are something!
August 10th, 2007 at 6:30 pm
Oh, I bet there’s someone out there who’s done it… :) Homebrewers love nothing better than a captive audience: “Hey, you’re at my wedding? Drink this!”
But you’re right – a lot of work, but a ton of fun and a great learning experience. Next time I could do it better… And a good thing, too, since I left about 7 bottles to age on the lees (yeast) for a while — apparently there’s a flavor change that happens in a year or two, and I wanted to hold a few back to see how they age. Fun!
August 10th, 2007 at 7:21 pm
That’s going to be delicious! I’m so excited for the whole thing.
August 12th, 2007 at 1:55 pm
Very impressive. Looks like fun, and a lot of work. I am really looking forward to tasting it.
August 21st, 2007 at 10:27 pm
As for me, my non-alcoholic Mead can be purchase the day of if need be. It even comes in a cute, squeezable bear shape!